Welcome to our step-by-step guide on how to build a gaming computer from scratch. Building your own gaming computer may seem intimidating, but with the right guidance, it can be a rewarding and cost-effective alternative to buying a pre-built gaming PC. Not only will you have full control over the components that go into your PC, but you’ll also have the satisfaction of knowing that you built it yourself.
In this guide, we will walk you through the process of building your own gaming computer, from planning and selecting components to assembling and optimizing your PC. Whether you’re a seasoned PC builder or a first-timer, this guide has everything you need to know to create a high-performance gaming rig.
So, let’s get started and learn how to build a gaming computer that can handle all your favorite games with ease!
Planning Your Gaming Computer Build
Building a gaming computer from scratch can be a fun and exciting project, but before jumping into the process, it’s crucial to plan out your build. Proper planning ensures that you select the right components and stay within your budget.
Firstly, you’ll need to set a budget for your build. This will help you narrow down your options when selecting components. It’s essential to strike a balance between affordability and performance to get the most for your money.
Next, consider the type of games you want to play and the level of performance you need. For example, if you plan to play graphics-intensive games, you’ll need a powerful GPU and CPU to achieve optimal performance.
When selecting components, consider compatibility and future upgradability. Ensure that your motherboard supports your chosen CPU and GPU and has enough expansion slots for future upgrades.
Don’t forget to factor in additional components such as cooling systems, power supplies, and storage devices. These components ensure that your gaming computer runs smoothly and reliably.
Overall, proper planning is essential to ensuring that your gaming computer build is a success. By taking the time to plan and select the right components, you’ll have a powerful gaming rig that provides an immersive gaming experience.
Choosing the Right Components
Choosing the right components for your gaming computer is crucial for optimal performance. Here are some important factors to consider:
CPU
The CPU (Central Processing Unit) is the brain of your gaming computer. Look for CPUs with high clock speeds and multiple cores for better performance. Popular choices are AMD Ryzen and Intel Core i9 CPUs.
GPU
The GPU (Graphics Processing Unit) is responsible for rendering graphics. Consider a high-end GPU for smoother gameplay, such as the NVIDIA GeForce RTX or AMD Radeon RX series.
RAM
RAM (Random Access Memory) affects how many applications and tasks your gaming computer can handle simultaneously. Choose at least 16GB of RAM for good performance, and opt for higher speeds for even better results.
Storage
Storage is where you store your games and other data. Choose a Solid State Drive (SSD) for faster load times, or combine with a traditional Hard Disk Drive (HDD) for a balance of speed and capacity.
Other Essentials
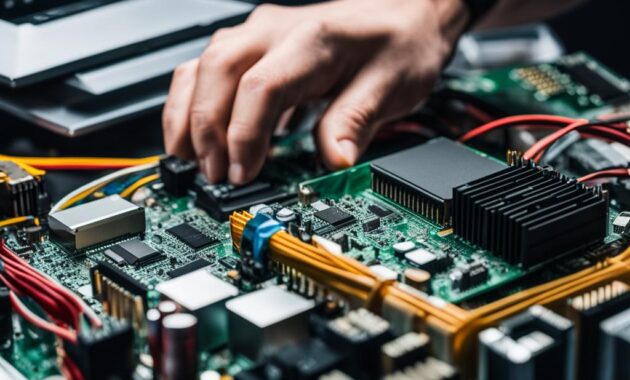
Other important components include the motherboard, power supply unit (PSU), and cooling system. Choose a motherboard that is compatible with your chosen CPU and has the necessary features for your needs. Opt for a high-quality PSU that can handle your system’s power demands and a cooling system to keep your components from overheating.

Assembling Your Gaming Computer
Now that you have all the components you need, it’s time to put them together and assemble your gaming computer. Follow these step-by-step instructions carefully to ensure optimal performance.
Step 1: Prepare Your Work Area
Clear a space on a flat, stable surface and gather all necessary tools such as a screwdriver and anti-static wrist strap to prevent damage to your components. Unpack all components and have them at the ready.
Step 2: Install the Power Supply
Begin by installing the power supply into the designated slot in the case. Secure it with screws and connect the necessary cables to the motherboard and other components.
Step 3: Install the Motherboard
Insert the motherboard into the case, ensuring that it is properly aligned with the standoffs. Secure it in place using screws.
Step 4: Install the CPU and Cooler
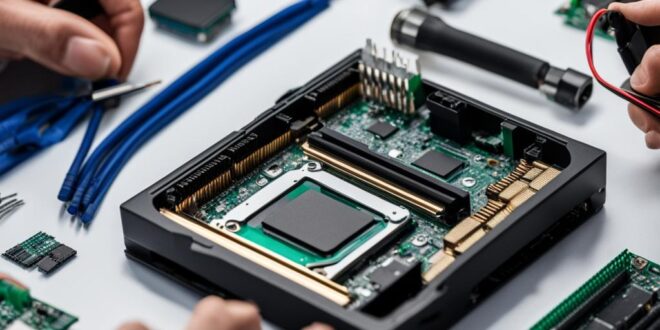
Remove the protective cover from the CPU socket on the motherboard and gently insert the CPU into the socket. Attach the cooler to the CPU using the provided thermal paste and screws.
Step 5: Install the GPU
Remove the appropriate slot cover on the case and insert the graphics card into the PCIe slot on the motherboard. Secure it in place using screws.
Step 6: Install the RAM
Insert the RAM sticks into the appropriate slots on the motherboard, taking care to align them properly and apply enough pressure to ensure they are firmly in place.
Step 7: Install Storage Devices
Insert the chosen storage devices, such as SSDs or HDDs, into the designated slots in the case and connect them to the motherboard and power supply using the appropriate cables.
Step 8: Connect Peripherals
Connect any necessary peripherals such as fans, RGB lights, and USB devices to your gaming computer.
Finish assembling your gaming computer by attaching the side panels to the case and connecting all necessary cables. Congratulations, you have successfully assembled your own gaming computer!
Installing the Operating System and Drivers
Now that you’ve assembled your gaming computer, it’s time to install the operating system and drivers. The operating system is the primary software that runs your computer, and it’s essential to have it properly installed for optimal performance.
The first step is to insert the installation media (typically a DVD or USB drive) into your computer and boot from it. This will begin the installation process, which will guide you through selecting your language, time zone, and other preferences.
Once the installation is complete, it’s important to update your drivers to ensure that all your components function properly. Drivers are software programs that enable your computer to communicate with hardware devices, and outdated or missing drivers can cause performance issues and errors.

Some drivers may be included with the operating system, while others may need to be downloaded from the manufacturer’s website. It’s important to install the latest drivers for each component, including the motherboard, graphics card, and sound card.
Overall, installing the operating system and drivers is a crucial final step in building your gaming computer. By following these instructions carefully, you’ll have a fully functional gaming rig that’s ready to provide hours of immersive gameplay.
Optimizing Your Gaming Computer
Congratulations on building your very own gaming computer! Now that you’ve assembled it, it’s time to optimize its performance to ensure the best possible gaming experience. Here are some useful tips and tricks to optimize your gaming computer:
Overclocking
Overclocking your CPU and GPU can improve gaming performance by increasing clock speed above their normal limits. However, be careful not to push your hardware too far as it can lead to overheating and damage your hardware.
Monitoring Temperatures
When overclocking or playing taxing games, it’s important to monitor your computer’s temperature to prevent overheating. You can use software such as HWMonitor to keep tabs on your CPU and GPU temperatures.
Managing Software Settings
To further optimize your gaming computer, you can manage the software settings to get the best possible performance. For instance, you can set your computer to prioritize gaming applications over other nonessential programs, or adjust your GPU settings to enhance performance in specific games.
With these tips, you are on your way to having a finely tuned gaming computer. Remember, take care when overclocking and monitor your temperatures regularly for the optimal gaming experience.
Conclusion
There you have it! You’ve successfully built your own gaming computer from scratch. With all the effort and planning that went into this project, you now have a high-performance gaming rig that is tailored to your specific needs. Take the time to enjoy your new setup, and happy gaming!
Originally posted 2024-01-21 16:11:00.
